Category Archives: *Try New Things

Another Digression – MidJourney AI Art

You heard the buzz: there’s another way to do art. You type a few text prompts, and the AI will return results. One of the recent AI generative art lab is Midjourney. You can try it for free on MidJourney’s Discord server with a limited number of images.

Here are some of my attempts:

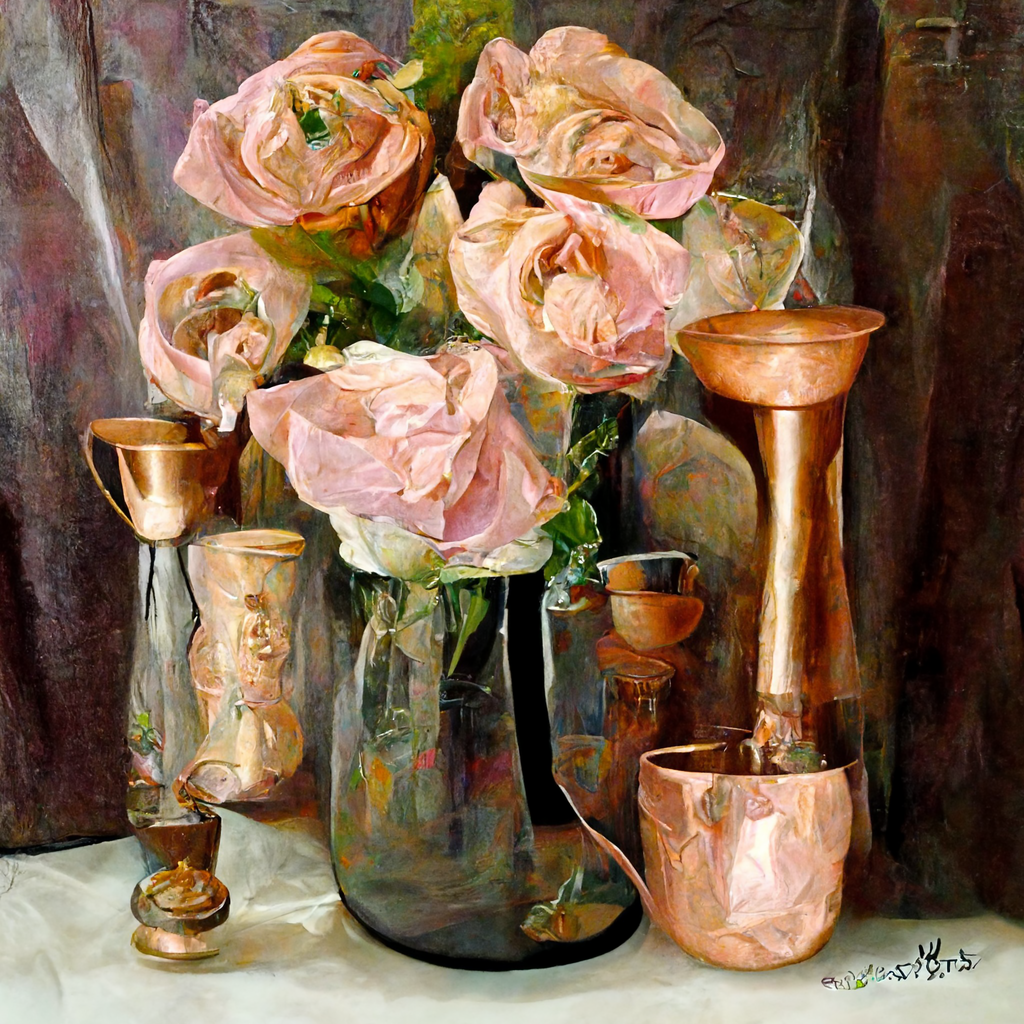
The prompts I gave are: “oil painting, still life, bronze vase, light pink roses, curtain, table, realism, expressive strokes, worn palette;” – basically, a Watts’ Atelier homework. The first result it returns contains 4 choices:

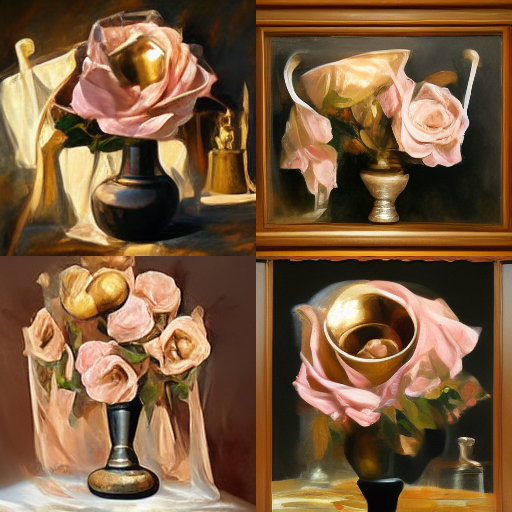
You can choose to further develop them and make variations till you are satisfied or give up. Some of the “final” ones:

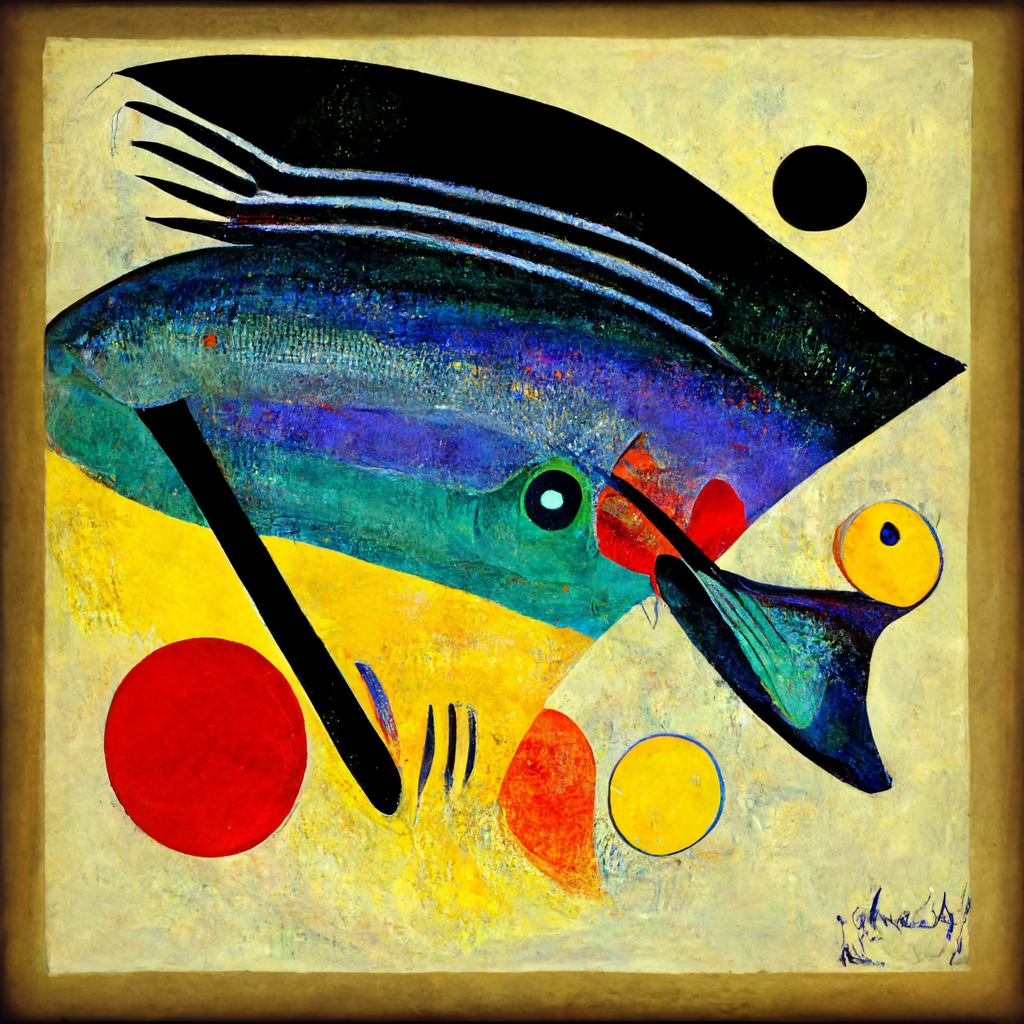
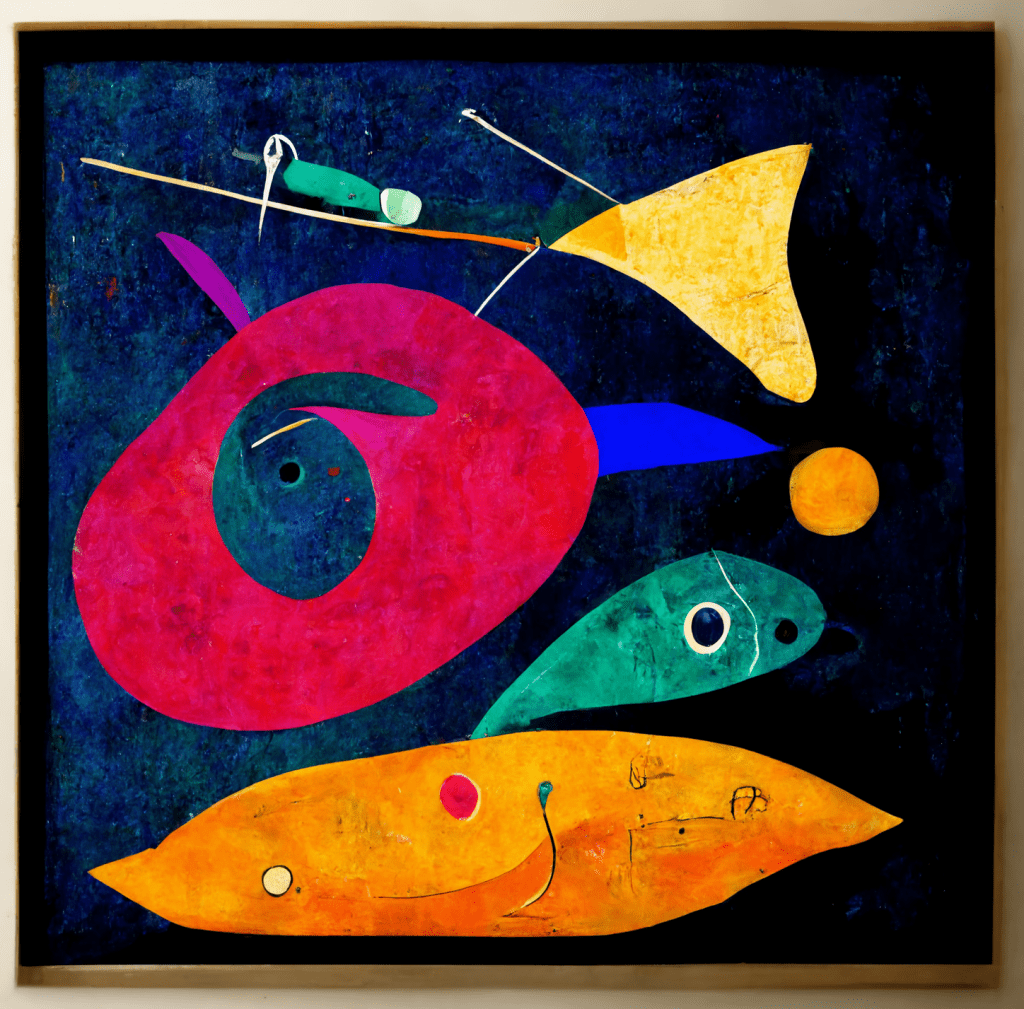
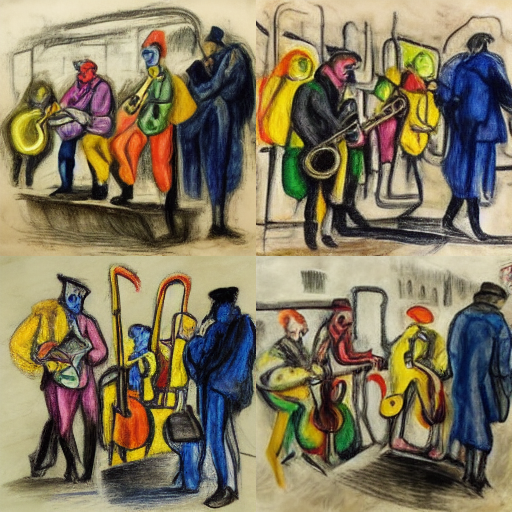
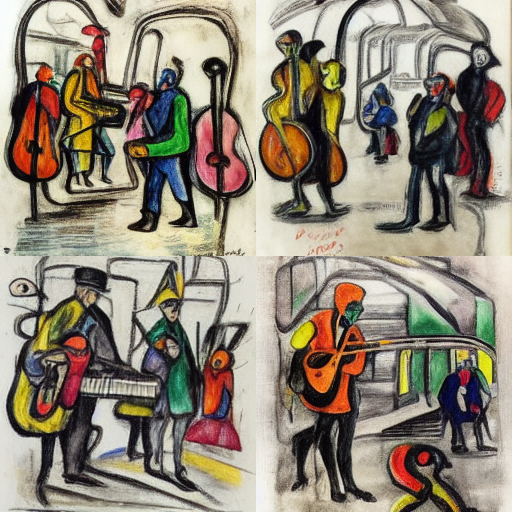
Here are some of my Kandinsky (kandinsky with expressive bold strokes, fish, abstract colors) and André Masson (André Masson drawing, colored pencil, street musicians, metro, gloomy):

A few notes:

  • It’s a lot of fun. Thanks to the limited number of trials that I didn’t end up spending my life on it.
  • I don’t really know how to make the best out of this Midjourney. I have seen amazing artworks coming out of it. I assume the the prompts you give make all the difference, but I didn’t spend time digging what the algorithm handling better, more general or specific instructions, more or fewer words etc.
  • Also, if the attempts are not limited (with a subscription I assume), you can keep manipulating them. The result may get much better or worse.
  • If you are into digital art, this can be a tool, and if you are making abstract art, this can be a great idea generator.
  • But, who can claim the authorship? In a few pieces, there’s even an attempt of signature. Whose signature? It seems to me like Kandinsky or Mason. So does the algorithm aims at creation or imitation?
  • I also like the fact that in some cases the painting comes with a frame.
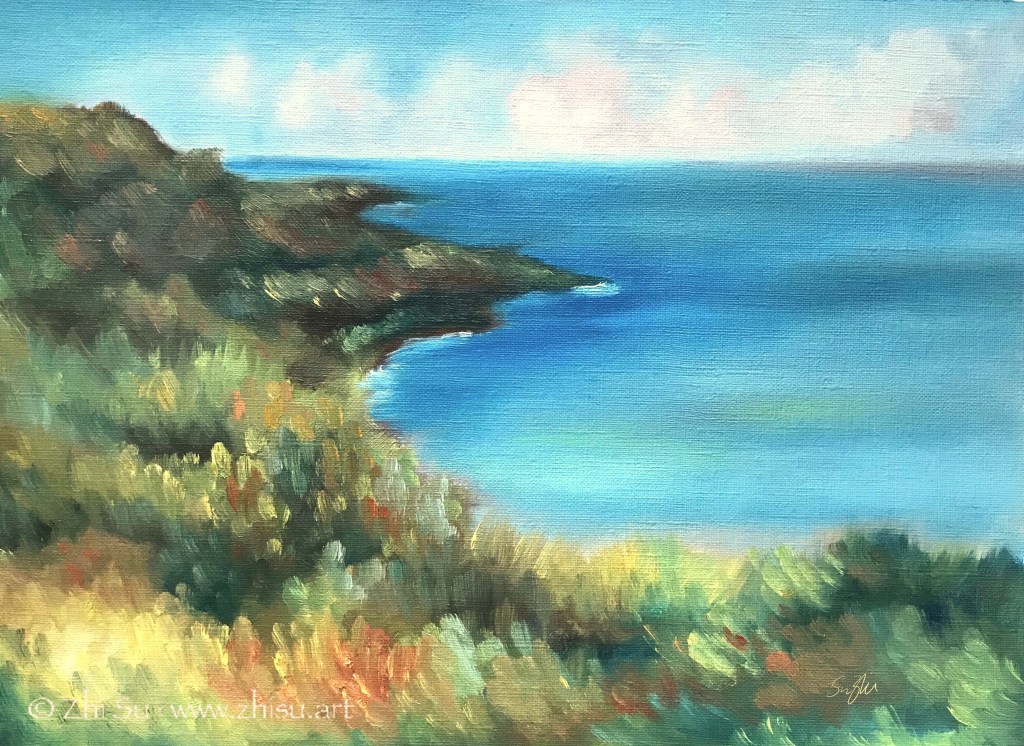
  • One thing for sure, if the big names in art history and all the prodigies online haven’t stopped us attempting new artworks, AI wouldn’t either. Back to painting! 🙂

Pairs (IV) and a New Thing for Me

My painting journey started with watercolor, and on the way, I also picked up acrylic and gouache. In other words, all water medium. Part of the reason I never tried oil is that I have more than enough art materials at home already, and I doubt I could ever use them up. Another part is that, I thought acrylic is the modern replacement of oil, and it could do everything oil can do.

Over the years, I met more than a few artists attesting that oil and acrylic are not the same at all. I started to wonder if I should give it try. A few weeks ago I attended a free lecture at University Art by an artist representing Williamsburg Oils (now part of Golden), and received some free colors. Well, I shouldn’t waste them, should I?

I dug out my very first acrylic landscape, and did a simplified copy of it in oil. Here they are:

Seascape, acrylic on canvas board, 12×16 in, 2015 (?)
Seascape, oil on paper, 9x12in, Feb. 2020

A few notes:

  • The acrylic painting was varnished, hence the sheen.
  • The oil painting was done on acrylic/oil paper. I don’t know if that makes a difference for the outcome.
  • I only have a few oil colors to work with.

I LOVE how oil colors can be pushed around freely and mixed smoothly, even the next day! I do feel I have more control of precision with acrylic, but that could simply because I have no skill with oil at this stage. For now, I would love to try more landscapes or portraits with oil, but for more modern and abstract paintings, I will stay with acrylic. Also, if you work with collage and complicated textures and patterns, acrylic is probably much easier.

Try New Things (3) – Framing

Full Moon, watercolor on tinted paper, 11 x 14 in, November 2019

There’s nothing new about the painting itself. I was fascinated by the Japanese ukiyo-e art, and tried to create something in that style. The new things for me are the preparing of the paper and the final display.

To prepare the paper, I boiled 10 bags of Liption black tea in a pot, pour the water in a tray, and after it cooled, soaked the watercolor paper in it for a couple of hours. The result is a nicely tinted paper.

For display, I always find matting and framing of watercolor a chore, and that’s part of force driving me to acrylic painting in the beginning. I recently came across two videos on how to display watercolor painting without glass, or even frame. I am sure there are many other videos on the topic, but these are the ones I referenced:

  1. Brennie M Brown: Framing Watercolors without Glass
  2. Robert Burridge – BobBlast: A Contemporary Way to Frame and Exhibit your Modern Works on Paper

Simply put it, if you want to frame the artwork without glass:

  • Glue the artwork onto gator board with acrylic gel medium, and let it dry overnight
  • Varnish it with 2 coats of gloss and 2 coats of matte varnishes, in that order
  • Frame it

If you want to display the artwork directly:

  • Painted the edges of a cradled wood panel to desired color (this step is optional)
  • Glue the artwork to the panel with acrylic gel medium, and let it dry overnight
  • Varnish it (same as in previous method)

Mr. Burridge didn’t mention varnishing in his video, but I did it anyways. The result is a waterproof surface. There are artists online saying varnishing changes the color of their paintings. If you only use gloss varnish, the color will look more vibrant. If only matte varnish, it probably with dull or blur. I used both, and the result is fine. However, it always wise to test it on some old paintings first.

The result hanging on the wall.

Try New Things (2) – Ballpoint Pen

I’ve seen many people doodling and sketching with ballpoint pen before, but I never tried. I like the flow and the fineness of a micron or sharpie better. A ballpoint pen is just something you use for it’s conveniency and economy, right? How far can you push it as an art tool? Well, according to British artist James Mylne, this far:

James Mylne (b. 1981), Polo Pony 1 (2008), Ballpoint pen on paper

Look at the range of values a single Bic Cristal could deliver!

No, I am not going to attempt that. I have neither the skill nor the patience. Mr. Mylne’s drawings average 60-100 hours per piece, with the longest 310 hours. While photorealism is probably always time-consuming regardless of the medium, ballpoint pen is extremely tricky because it’s a one way street. You can only go from light to dark, no erasing, no lifting, no painting over.

Still intrigued, I decided to at least give sketching with the Bic a try:

Portrait of a man, ballpoint pen
Portrait of a man, ballpoint pen, 2019. Model from NMA.

And here’s what I learned:

Compare to micron or sharpie, the touches are closer to those of using a graphite pencil. Especially in shading, with good control, you can go lighter than an ink pen, and build up a wider range of values.

Just like a micron or sharpie, since you can’t erase, it exposes all the weakness in your drawing. You need to be mindful about each mark throughout the working process. Scary, right? But also good learning opportunity. If there’s a unwanted mark, the only remedy is to work it into the drawing somehow. This is challenging, may not be possible sometimes, but lots of fun. A few missteps can lead to something unexpected:

Portrait of Jorgie, ballpoint pen
Portrait of Jorgie, ballpoint pen, 2019 Model from Croquis Cafe

Don’t forget to keep a tissue paper handy because you need to constantly remove the buildup at the tip.

By the way, do check out James Mylne’s gallery. It’s not just photorealism, but also a lot of humor.

Try New Things (1) – Ink Resist with Gouache

I only recently came to know there’s such a thing called ink resist, and was pretty impressed by some of the artworks with this method. So I gave it a try. The result is a meh, but I l had fun and learned something.

Still life, ink and gouache on watercolor paper

So these are the steps I followed:

  • pencil drawing;
  • painting with gouache but leave some area blank; (some people leave only the pencil marks uncovered to achieve neat outlines)
  • after the painting is completely dry, covered the whole page with sumi ink;
  • again, wait till it’s completely dry, wash off the ink (I used the garden hose, no kidding.)
  • and again, wait till it’s dry, and went back to fix here and there. (This step is optional, but I wasn’t that lucky.)

And here are the things I learned:

  • Like drawing on black paper, this method is a bit counter-intuitive. The areas left blank in the first painting round will be the darkest after the wash. So planning ahead is important, which I didn’t do. In my painting, the blacks serve more like random texture than an organic part of the value pattern.
  • The paint should be thick, to “resist” the ink and also because gouache is easy to wash off.
  • This process asks for a lot of patience. 😜